Behringer EP2500 Fan Mod
![]() -
- ![]()
Howto - Material list - Equipment - Conclusion
The Behringer EP2500 is an affordable PA-amp, suitable for powering a DIY-sub or two. The original EP2500 fan, however, is very noisy, making it less suitable for placing the EP2500 in the living room/home theater. Luckily putting in a quieter fan is a relatively easy, and this guide tells you how.
How
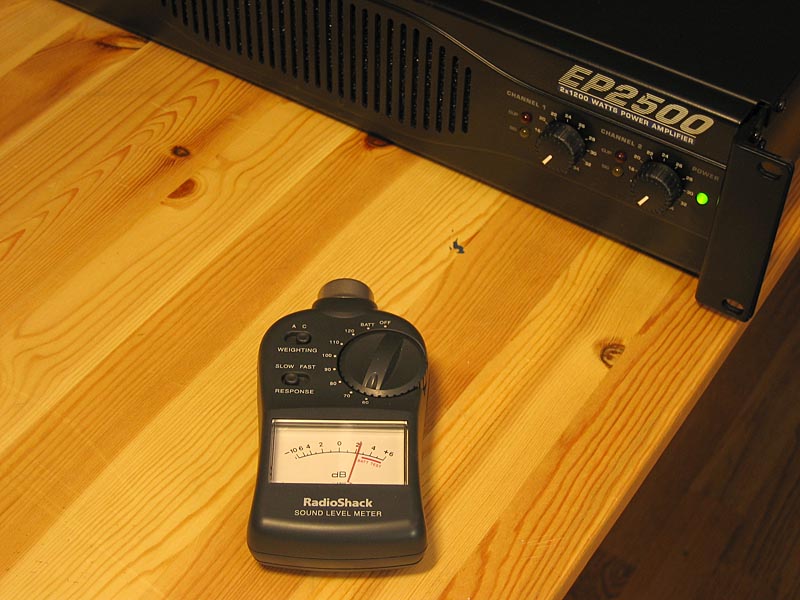
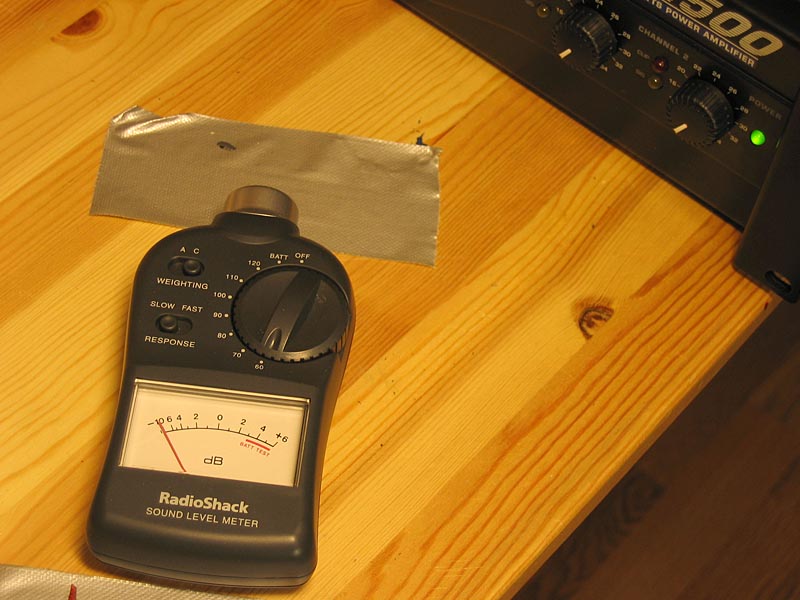
Noise measurement before mod. A little difficult, because the SPL meter doesn't go low enough. By placing it really close to the amp I managed to measure about 62 dB. |
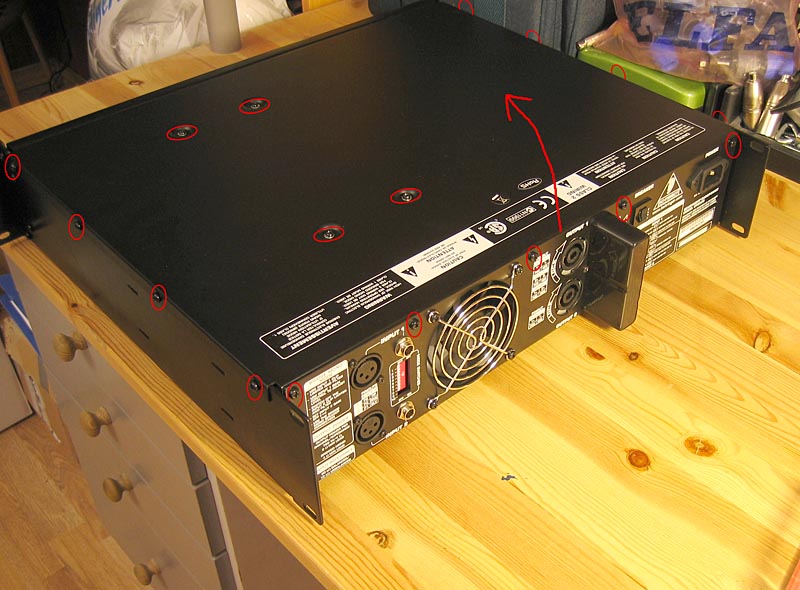
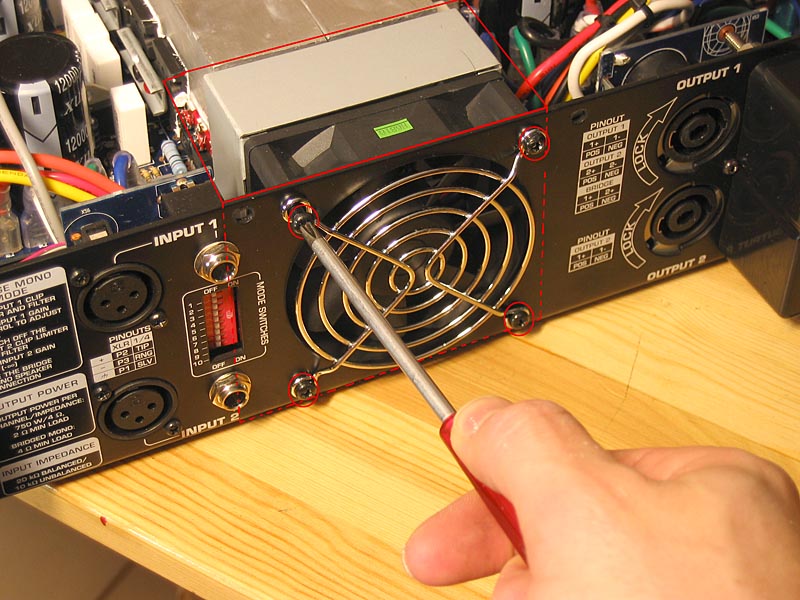
We start by removing the top. A lot of screws has to be removed (marked with red circles). |
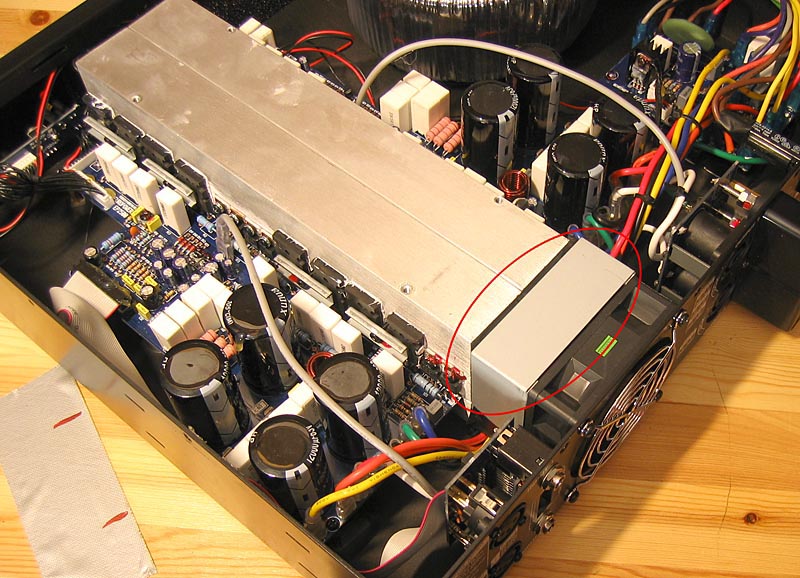
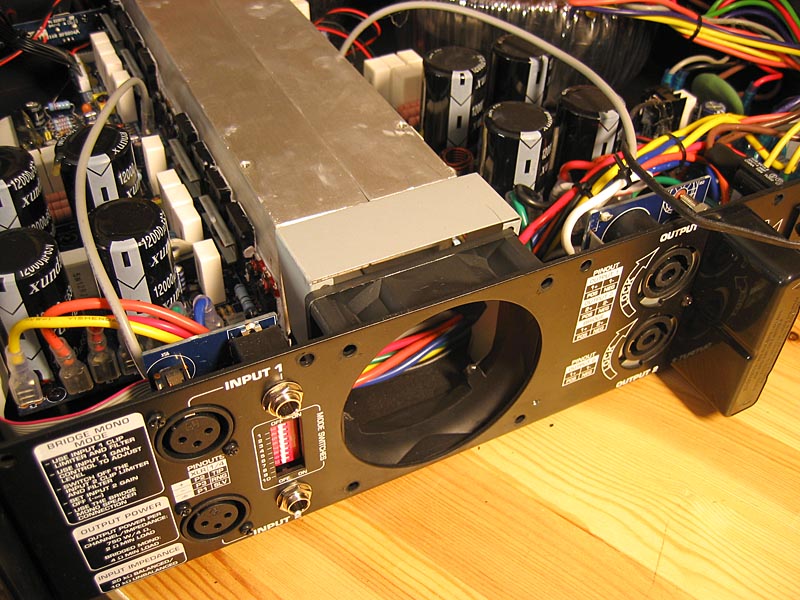
The long, grey thing is the heatsink(s) which all the air flow is supposed to go through. Between the fan and the heat sink(s) is a spacer that makes sure that all the air from the fan is directed through the heat sink(s). |
The fan and grille is removed by unscrewing the shown screws. |
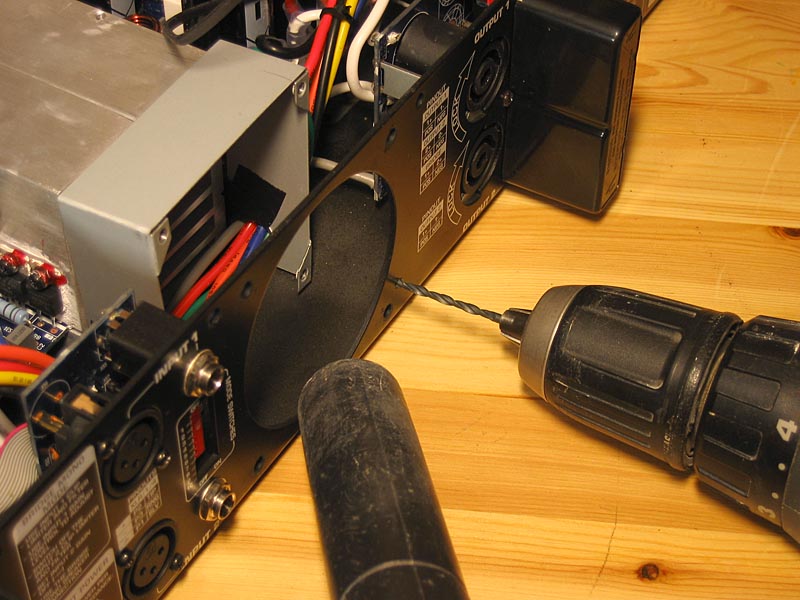
We need a hole for the cables to the external fan. A vacuum cleaner ensures that no metal particles enters the amp. |
Checking that the cables fits in the hole. Only the red and black wire is necessary. The yellow one can be cut. |
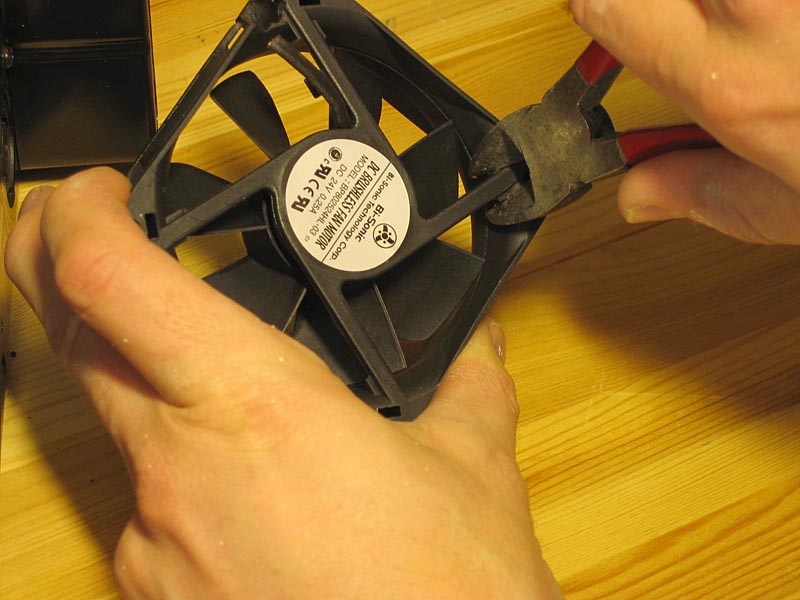
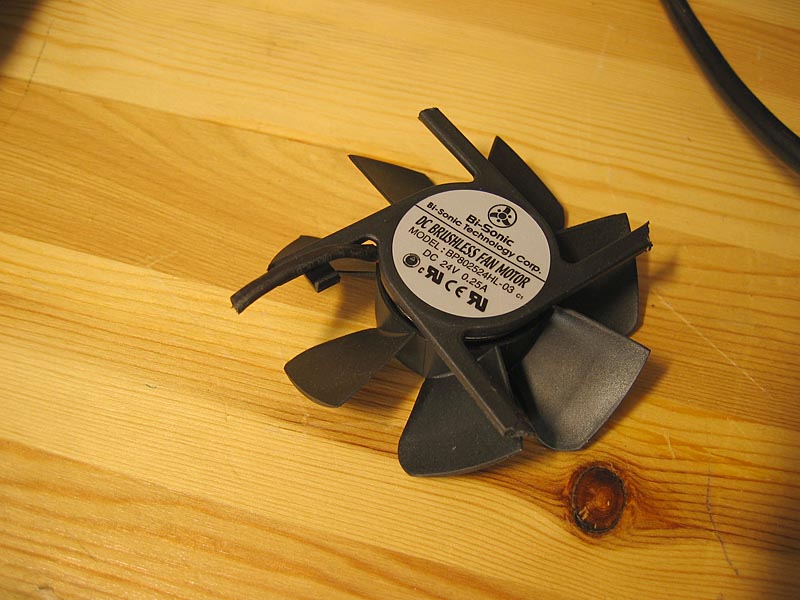
Instead of making a new spacer, replacing the old fan, we just use casing of the old fan... |
...by removing this. |
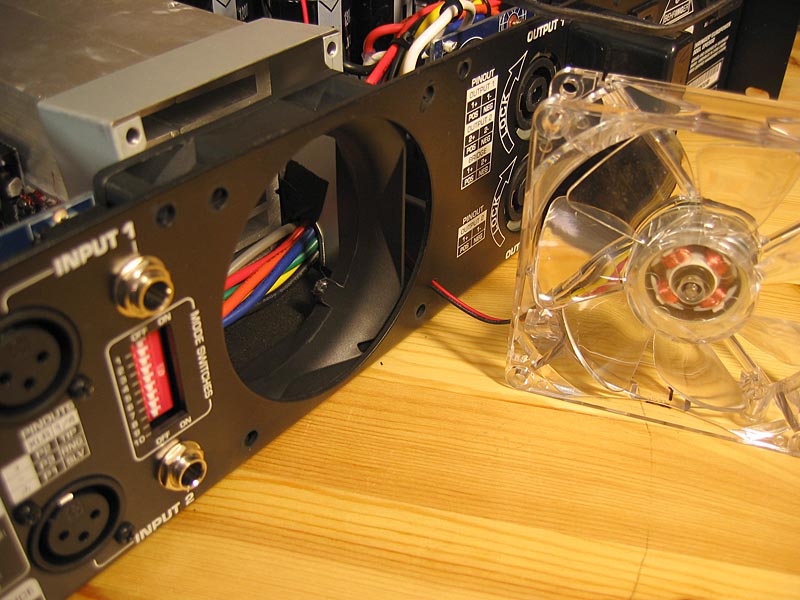
Here's the fan casing in place, creating an air canal from the outside to the heat sink(s). |
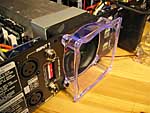
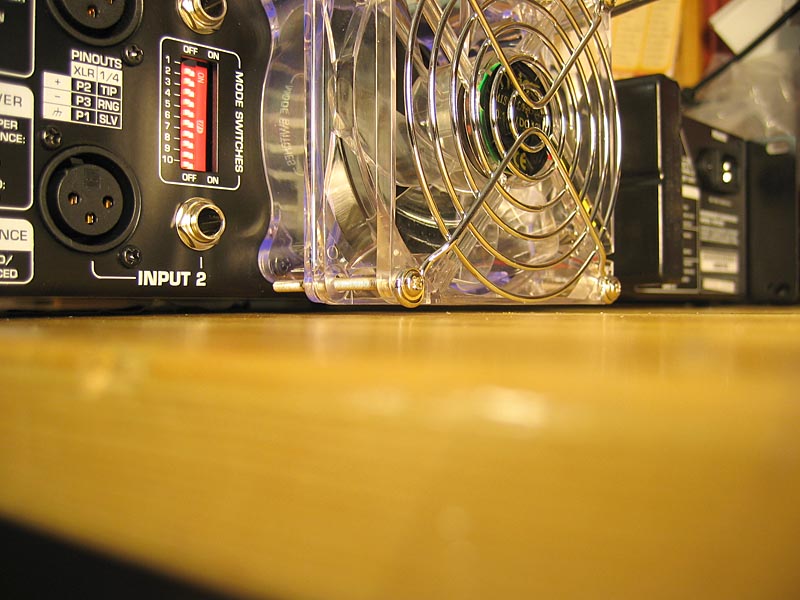
Then we fasten the 80mm -> 92mm adapter. The original screws works fine for this. |
Fan and grille is installed with the screws included in the adapter kit. As we all can see, the clearance to the table is more than enough (at least 1 mm). Note! The air direction is reversed ao that the fan now blows that air out of the back. |
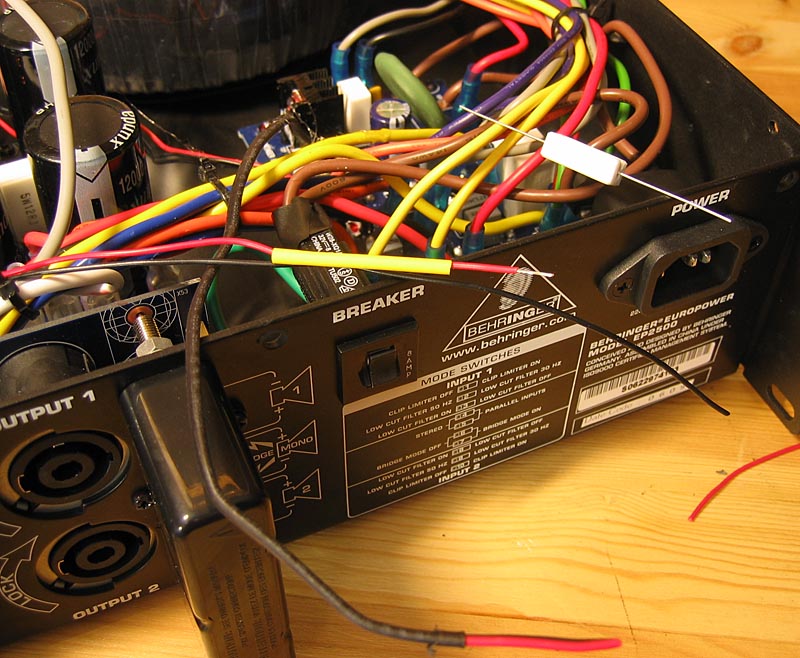
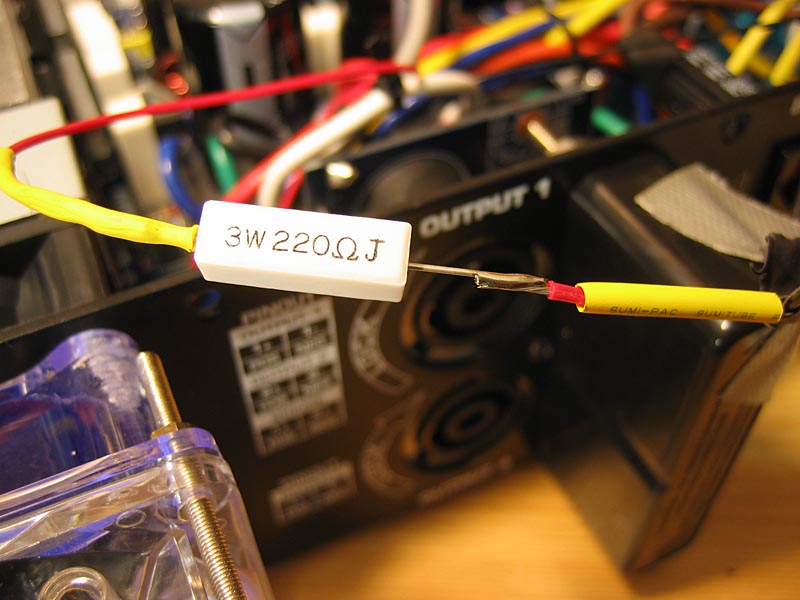
Then it's just the matter of soldering the wires of the new fan with the cut wires of the original fan. A 220 ohm / 1W resistor brings the voltage down to a level that fits the new fan (12V). The proper value of this resistor will vary with the fan used. |
Here the resistor is soldered to the wire. |
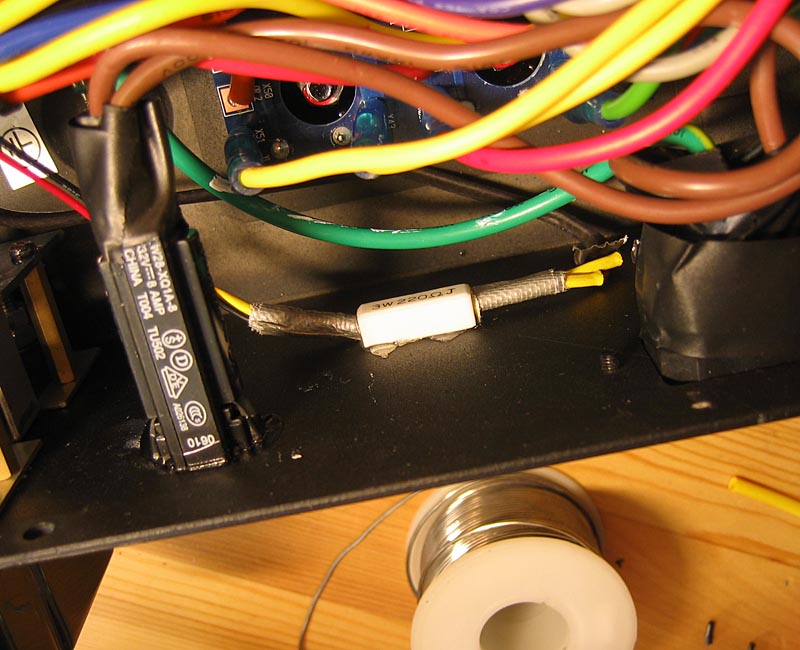
Then the resistor is attached to the chassis. A better placement would probably be to the heatsink, fastened with termal glue. |
Measuring the noise level after the mod, shows no visible reading on the SPL meter, so I guess something went right... |
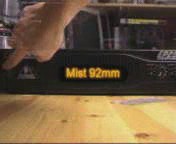
A bad quality video showing the sound level difference before and after the mod (the audio level autogain on the camera certainly screws up this comparison, but you get the idea...) |

Material list
| Material | Used for | From where | Price (in Norway) |
| 22 Ohm / 1W Resistor | Reduce voltage over fan | - |
$1 |
| 92mm Fan (Mist) | Replace original fan | - |
$10 |
| 80mm -> 92mm | To fit 92mm fan | - |
$10 |
| 92mm fan grill | To protect your fingers | - |
$5 |
| Sum | $25 |
Equipment list
Here's what you'll need for the project:
- Solering iron
- Heat-shrinkable tubing (10cm)
- Wire cutter
- Tape
- Screwdriver
- Termal glue
Conclusion
The mod reduced the noise level drastically, but now I notice the motor noise of the new fan and it's a little bit annoying (at leas if I put my ear 5cm in front of the amp). I don't know if I'm able to hear it at all from a normal listeing position, but I'm still considering changing the fan to å more expensive (and quieter) brand.